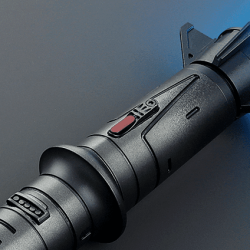
Sale
No voucher code necessary.
Only for a short time!

Quick Start Guide

Lightsaber received. And now?

Everything you need for your lightsaber is included. Below you will find instructions to get started right away.

This video shows how to insert the blade using a Durasaber. However, the procedure is identical for all models.

Blade

Your lightsaber is equipped with one of two blade types:
  1. RGB blade (hollow): Uses a light source in the handle with RGB LEDs to create different colors. The blade is lighter, more robust and combat-capable.

  2. Neopixel blade (LEDs): Contains neopixel LEDs along the entire blade for impressive brightness and effects, such as the blade “moving in and out”. However, it is heavier and not suitable for combat.
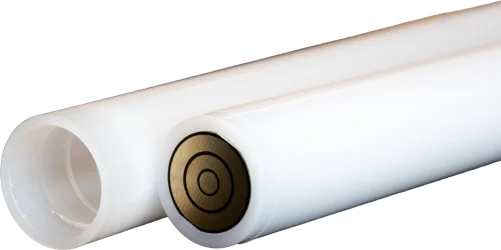
Klinge 2

Insert the blade into the handle. For Neopixel blades, the gold pins must be in contact with the handle.

Use the worm screws from the plastic bag to fix the blade in place and only tighten them until the blade stops moving. It is usually only necessary to tighten one screw. Be careful not to overtighten the screws to prevent damage, especially to Neopixel blades.

Accessories

The following is included as standard. Depending on the model, additional accessories may be included.
  • Tools and spare screws
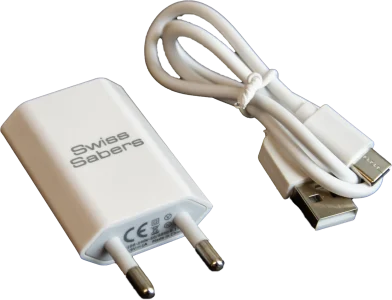
  • Charging cable and plug (white)
  • External battery charger (black)
  • SD card USB adapter(only for Pixel models)
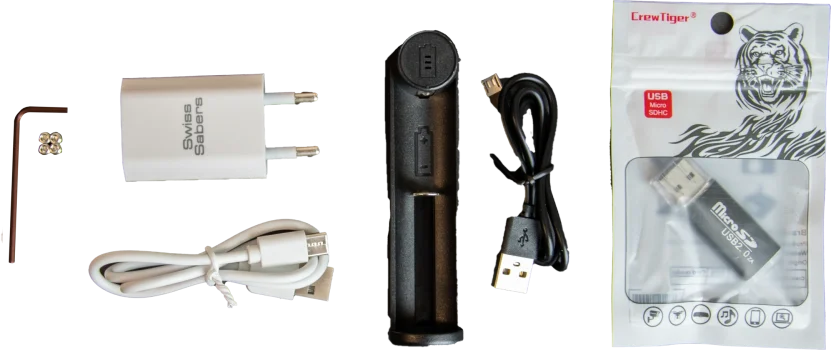
Zubehör
Ladekabel

Charge lightsaber

Use the supplied charging cable to charge the lightsaber directly on the hilt or core. The battery does not need to be removed for this.
Please only use the supplied charging cable and mains adapter. Charge with a maximum of 1 ampere (5 volts) and do not use a fast charger. Failure to follow these instructions may result in a fire hazard and damage to the electronics, which will invalidate the warranty.
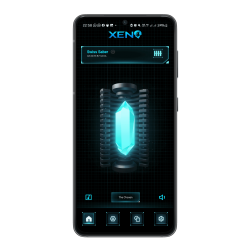
The charging time when the battery is empty is approx. 5 hours. The “ready” signal sounds when the battery is full. You can view the charge status in the app.
The black charger only serves as a replacement and can be used if the battery can no longer be charged directly due to deep discharge.

The Core

Your soundboard and the rest of the electronics are built into the so-called “core”: Depending on your lightsaber, the core has one of the following structures:
  • Standard Core: Can be loosened using two screws on the back
  • Slide Out Core: Is fastened without screws and can be easily removed. It also has an integrated killswitch (ON/OFF switch). This must first be pressed to switch on the lightsaber.
  • Special core: For lightsabers with special designs, e.g. lightsabers with a bend in the hilt, it may be necessary to install special cores.
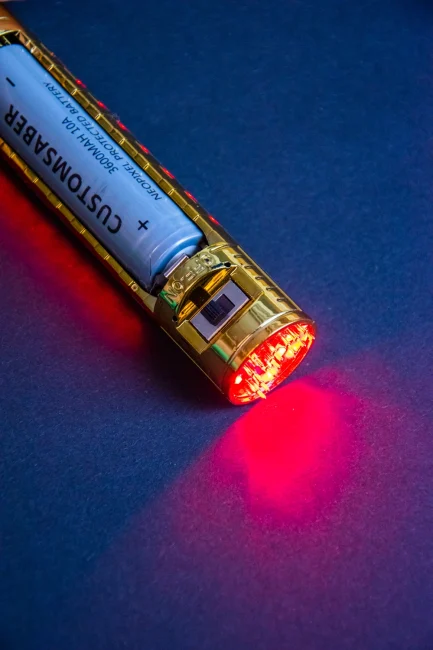
Core
Slide Out Core with Killswitch

Further tips and tutorials

Download links for iOS and Android
Operating instructions, tips for starting, color changes, effects and much more
A guide on how to charge your lightsaber
Operating aid for lightsabers without LED button (almost all premium & replica lightsabers)
A guide to the perfect alignment of your grip
Personalize your lightsaber with your own sound fonts.

Subscribe to our newsletter

Don't miss out on discounts and updates!

Shopping cart0
There are no products in the cart!
Continue shopping
0

Post: Quick Start Guide

Subscribe to newsletter

Don’t miss news, offers and discounts.